How to take product photos with your phone
You don't need a camera or a studio. A step-by-step guide to sharp, well-lit product photos on your phone, and to turning them into studio shots.
Most product photos on small e-shops are taken on a phone, and that's fine. Any phone from the last few years is sharp enough for an e-shop, a marketplace listing or an Instagram feed. What separates a good product photo from a poor one is rarely the camera. It's the light, the angle, the background and a few minutes of care.
This guide covers everything you need: where to shoot, how to set up the phone, how to light and frame the product, and what to do with the photos afterwards. All you need is your phone, a table near a window and, ideally, a sheet of white card.
What you need
- A phone with a reasonably recent camera.
- A table or other flat surface near a window.
- A sheet of white card or foam board, to bounce light into the shadows.
- Something to keep the phone steady: a small tripod, a stack of books or a glass to lean it against.
- A soft cloth, to wipe dust and fingerprints off the product.
1. Find the right light
Light matters more than anything else. The best light for product photos is soft daylight from a window, out of direct sun. Soft light wraps around the product, shows its shape and texture, and casts gentle shadows instead of hard black ones.
Set the table beside the window so the light falls on the product from the side. Light from behind the phone flattens the product, and light from behind the product turns it into a silhouette. Light from the side, slightly in front, gives the most depth.
Turn off the ceiling lights and lamps. Indoor bulbs are warmer than daylight, and mixing the two gives your photo colour casts that are hard to fix later. If the sun shines straight in, hang a thin white curtain or a sheet of baking paper over the window, or wait for a cloudier hour. Overcast days are ideal for product photos.
2. Bounce light into the shadows
With a single window, the side of the product facing away from it will be darker. Stand your white card on that side, just out of the frame, and angle it towards the product. It reflects window light back into the shadows and evens out the photo. Move it closer for a brighter fill, or further away for more contrast.
3. Set up your phone
Before anything else, wipe the camera lens. A fingerprint on the lens is the most common reason a phone photo looks hazy. Then check these settings:
- Use the main camera (1×). The ultra-wide lens stretches products near the edges of the frame.
- Turn off the flash. Direct flash causes harsh reflections and flat colours.
- Avoid digital zoom. Move closer instead, or use the 2× or 3× lens if your phone has one: a slightly longer lens keeps proportions natural.
- Turn on the grid in the camera settings, to keep lines straight and the product centred.
- Shoot at full resolution, and skip filters and portrait mode, which can blur the edges of the product.
4. Frame the product
Place the product in the middle of the table, at least a hand's width from anything behind it. For most items, shoot at the product's own height. For bowls, boxes and anything with an interesting top, shoot from slightly above, at around 30 degrees. A straight top-down shot suits flat products such as cards, jewellery and folded clothes.
Let the product fill most of the frame, but leave a margin on every side. E-shops and marketplaces crop images to different shapes (square, 4:3 or 4:5), and the margin keeps the product whole whatever the crop. Keep the phone level so vertical lines stay vertical; the grid helps with this.
5. Focus and brightness
Tap the product to focus on it. On most phones you can then slide your finger up or down next to the focus point to adjust brightness. Aim for a bright image where white areas look white rather than grey, without losing detail in the highlights. A long press locks focus and exposure (AE/AF lock on iPhone, with similar options on Android), so they don't shift between shots.
Keep the phone still. In lower light the phone uses a slower shutter speed, and even a small shake blurs fine details like the text on a label. A tripod or a stack of books solves this, and the self-timer or the volume button lets you take the photo without touching the screen.
6. Take more shots than you need
Photograph each product from several angles: front, three-quarter, back, a close-up of a detail and, where it helps, one that shows scale, such as the product in a hand. Take a few frames of each. It costs nothing, and picking the sharpest one later is easier than setting up again.
Good light and a steady phone matter more than the camera. Get those two right and any recent phone will do.
Check your shots before you pack up
Before you put the product away, open the photos and zoom in on each one. Look at the label and the edges: are they sharp? Are the whites clean, or is there a yellow or blue tint from another light? Is anything in the frame that shouldn't be, like a cable, a reflection or a stray crumb? Checking now takes a minute. Finding a blurry photo after the product has been shipped means the shot is gone for good.
7. Deal with the background
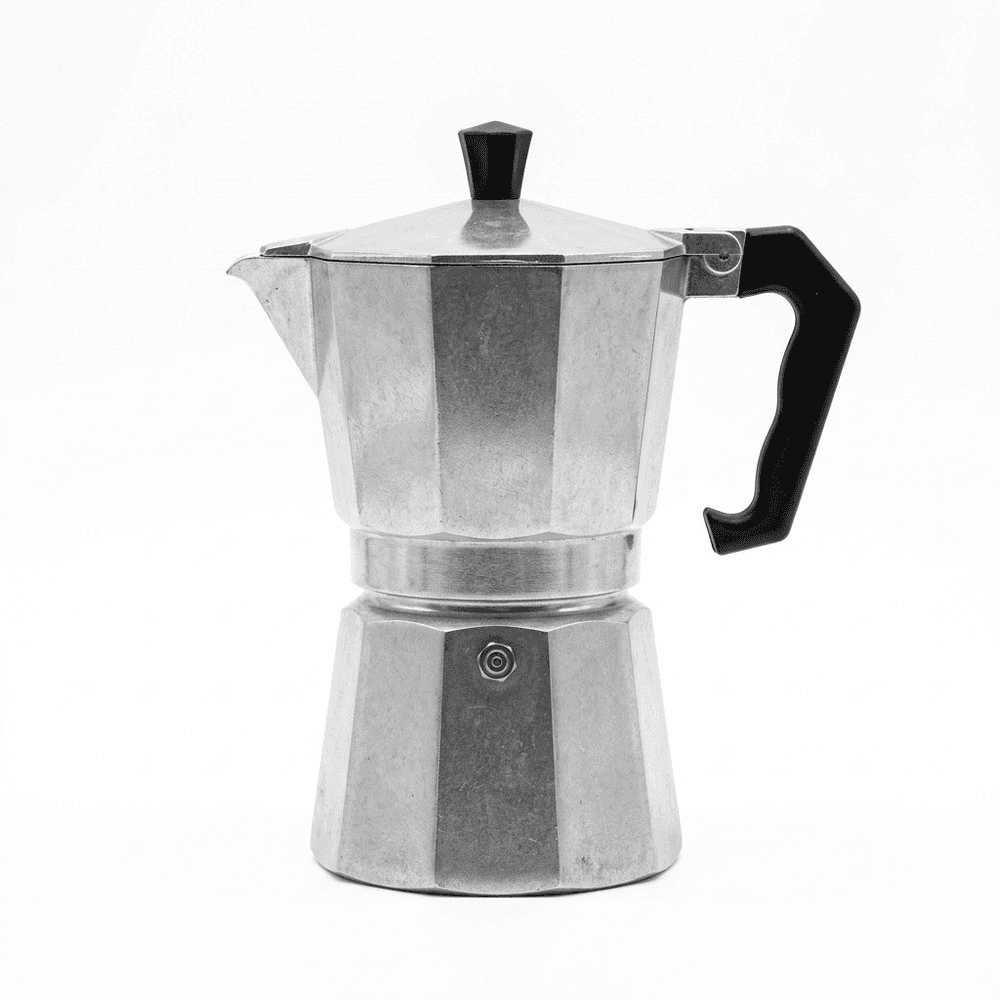
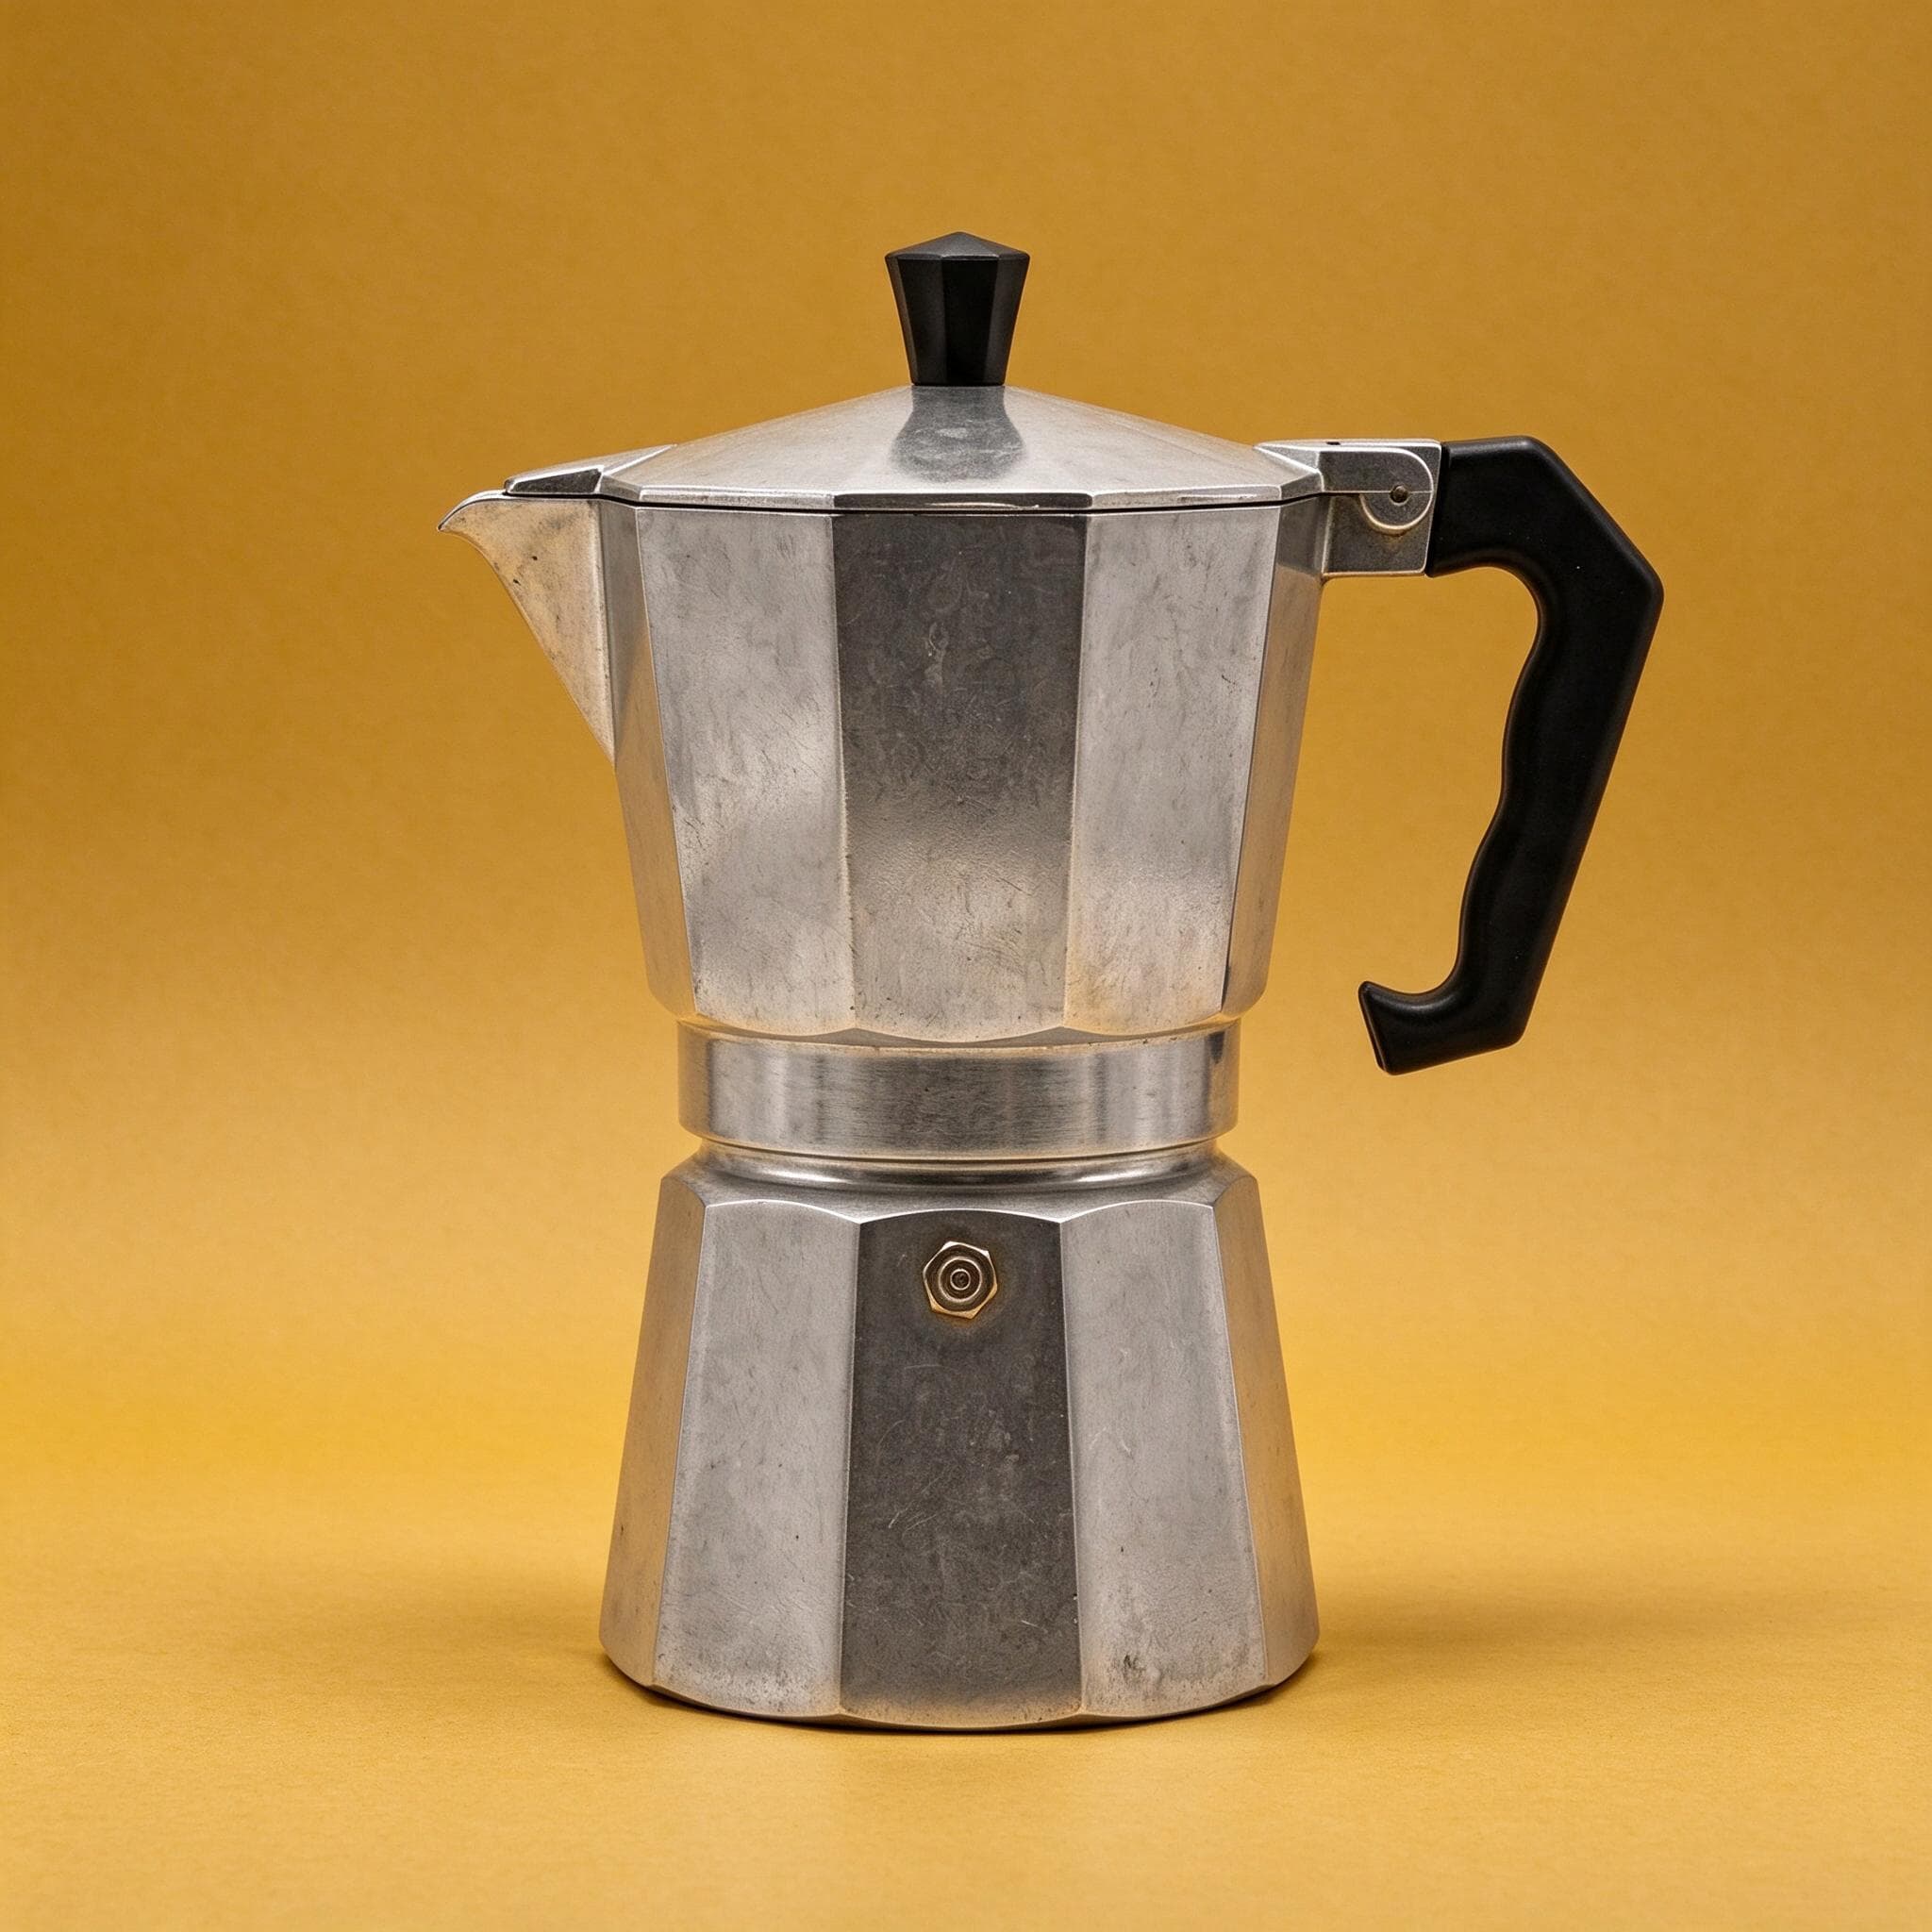
This is where most sellers get stuck. A phone photo on a kitchen table still shows the kitchen table. The traditional fix is a white paper sweep or a light tent, plus time in an editing app to clean up the background and balance the shadows.
StudioShot Pro does this step for you. Upload the phone photo, pick a studio backdrop or a lifestyle scene, and the AI places the product there with light and shadows that match, in a few seconds. The product stays exactly as you photographed it, so everything in steps 1 to 6 still counts: a sharp, well-lit original gives the best result.
8. Prepare the photos for your shop
Every platform has its own size and crop rules, and they differ more than you'd expect. Shopify recommends square images of 2048 × 2048 px, WooCommerce crops shop thumbnails square by default, and Etsy recommends a 4:3 landscape thumbnail at least 2000 px on the shortest side. Whichever you use:
- Use the same aspect ratio and backdrop for every product's main image.
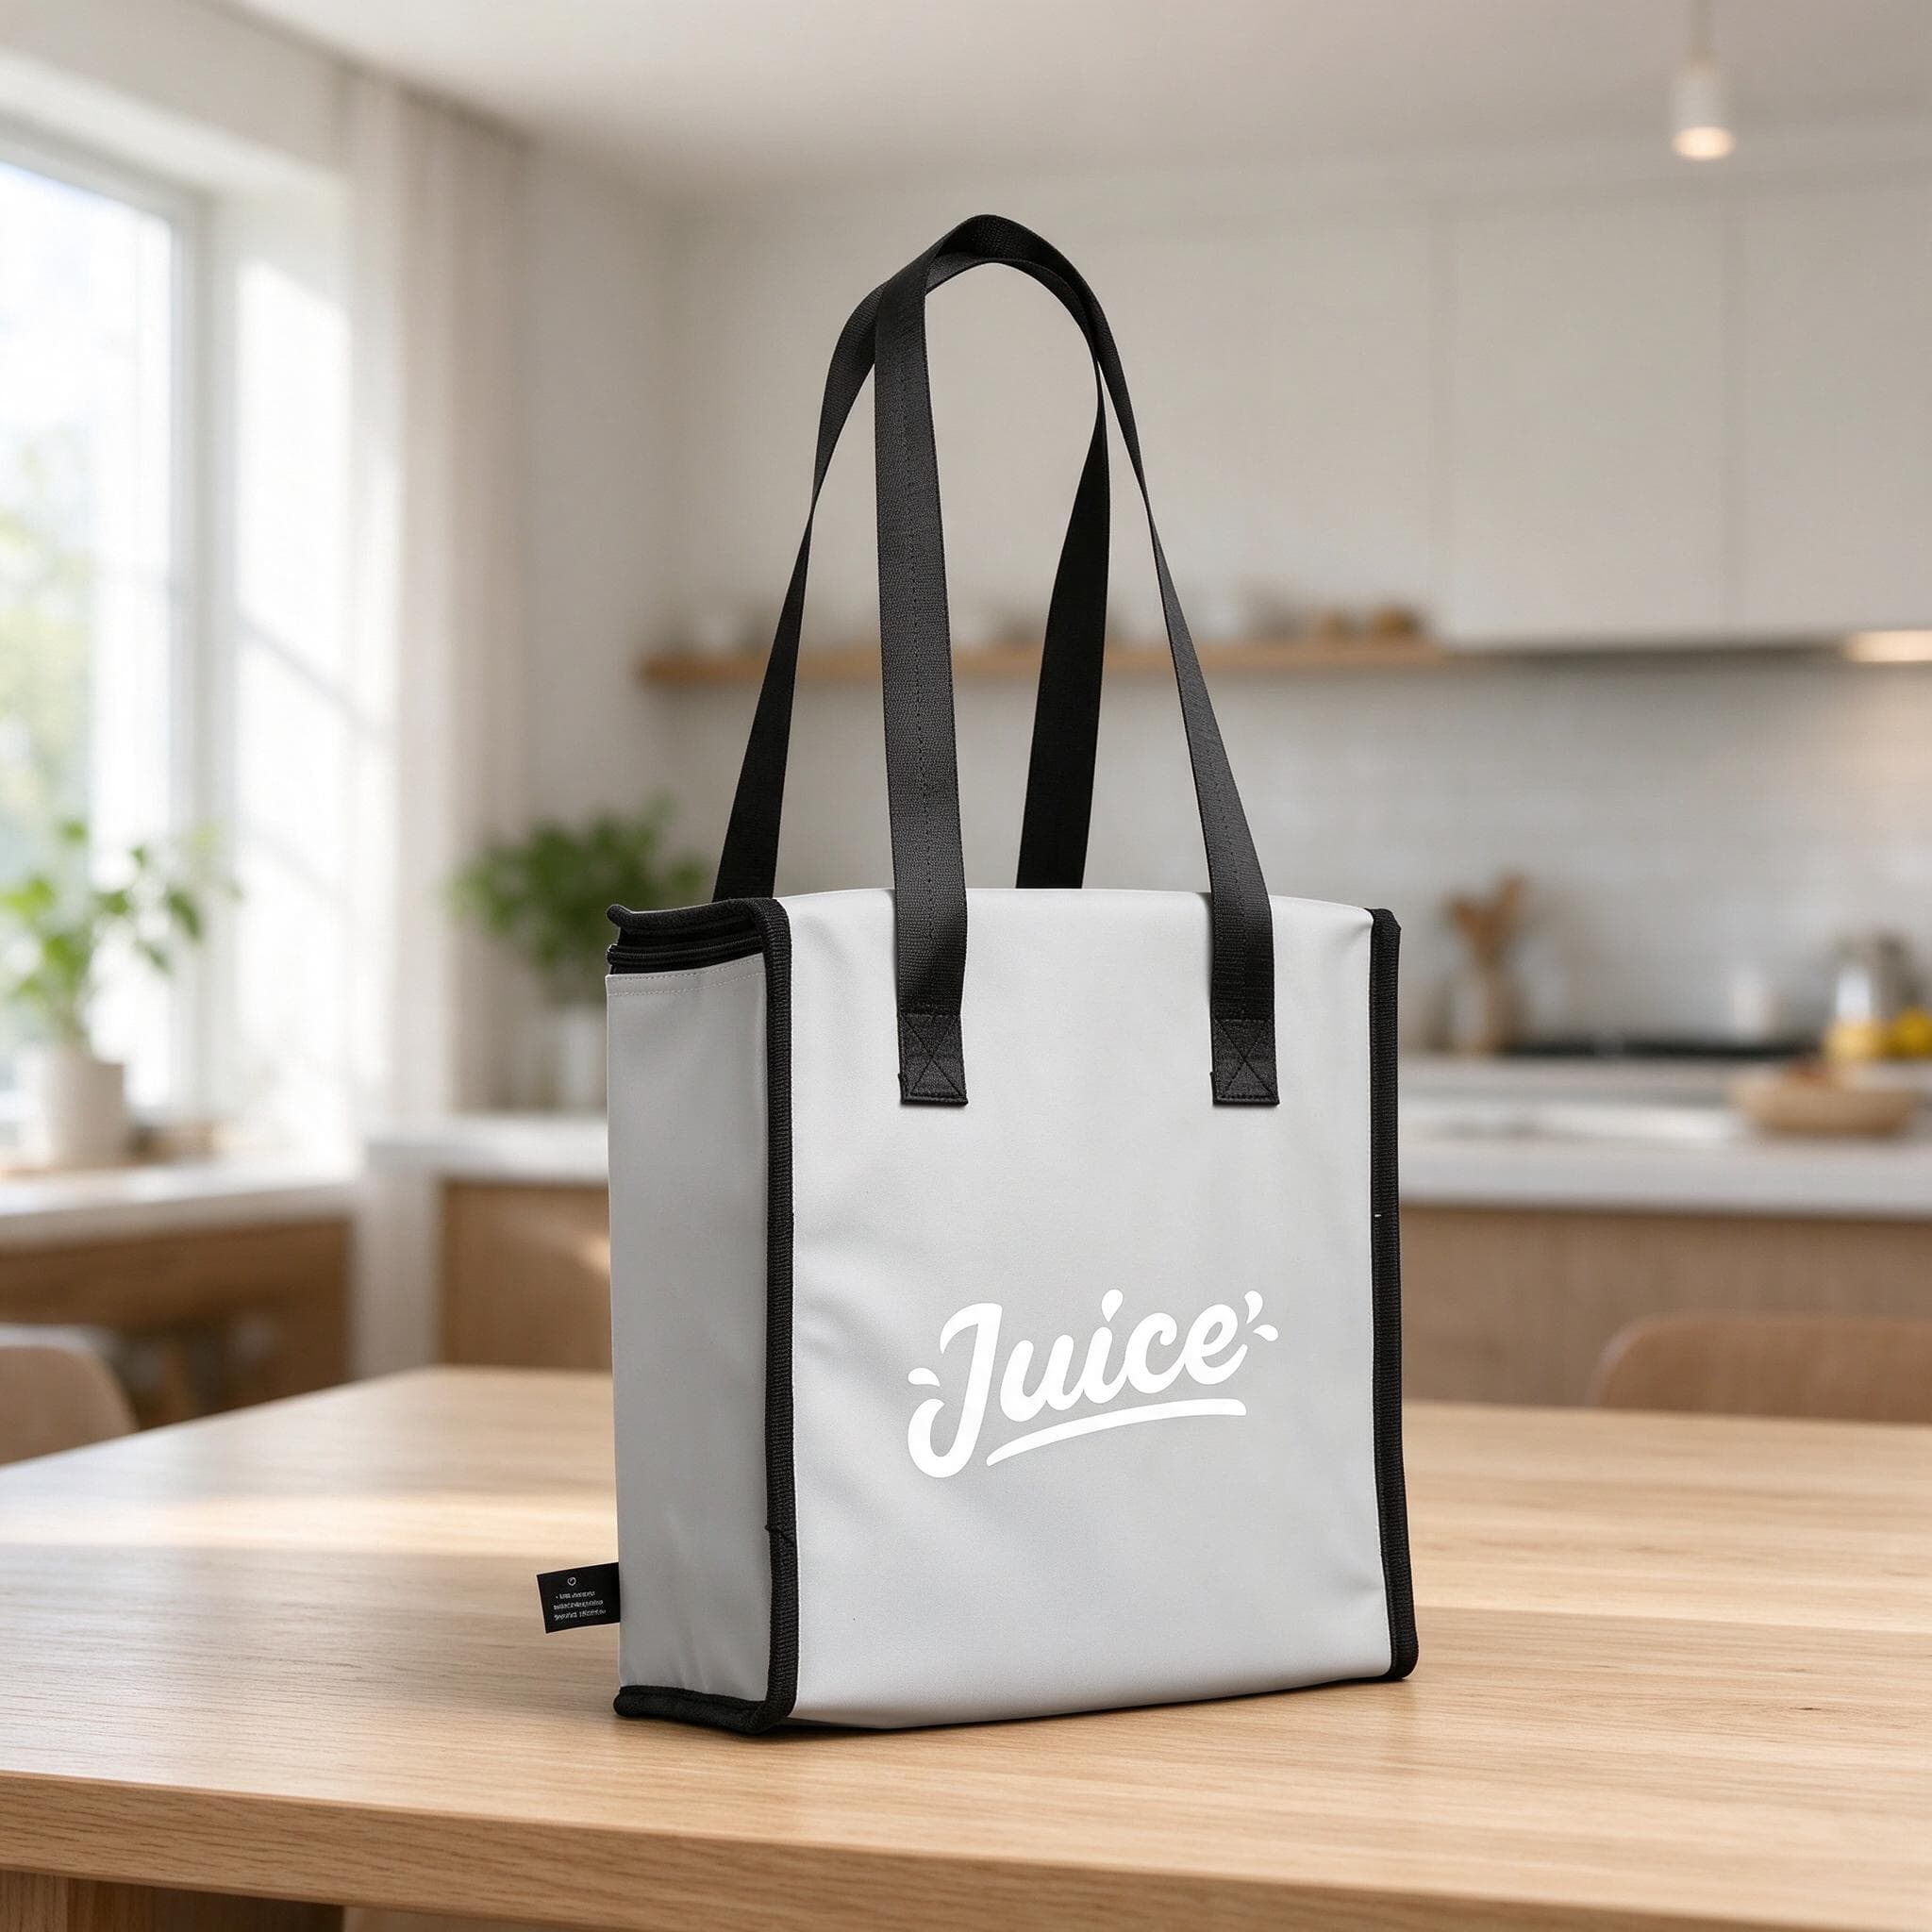
- Give files descriptive names, such as linen-tote-bag-natural.jpg.
- Write alt text that describes the product, for search engines and screen readers.
- Save photos as JPG: the files stay small and every platform accepts them.
- Resize them for the platform you sell on. Our free image resizers make the right sizes for Shopify, WooCommerce, Etsy, eBay and Vinted.
Tricky products
Some products need a little extra care:
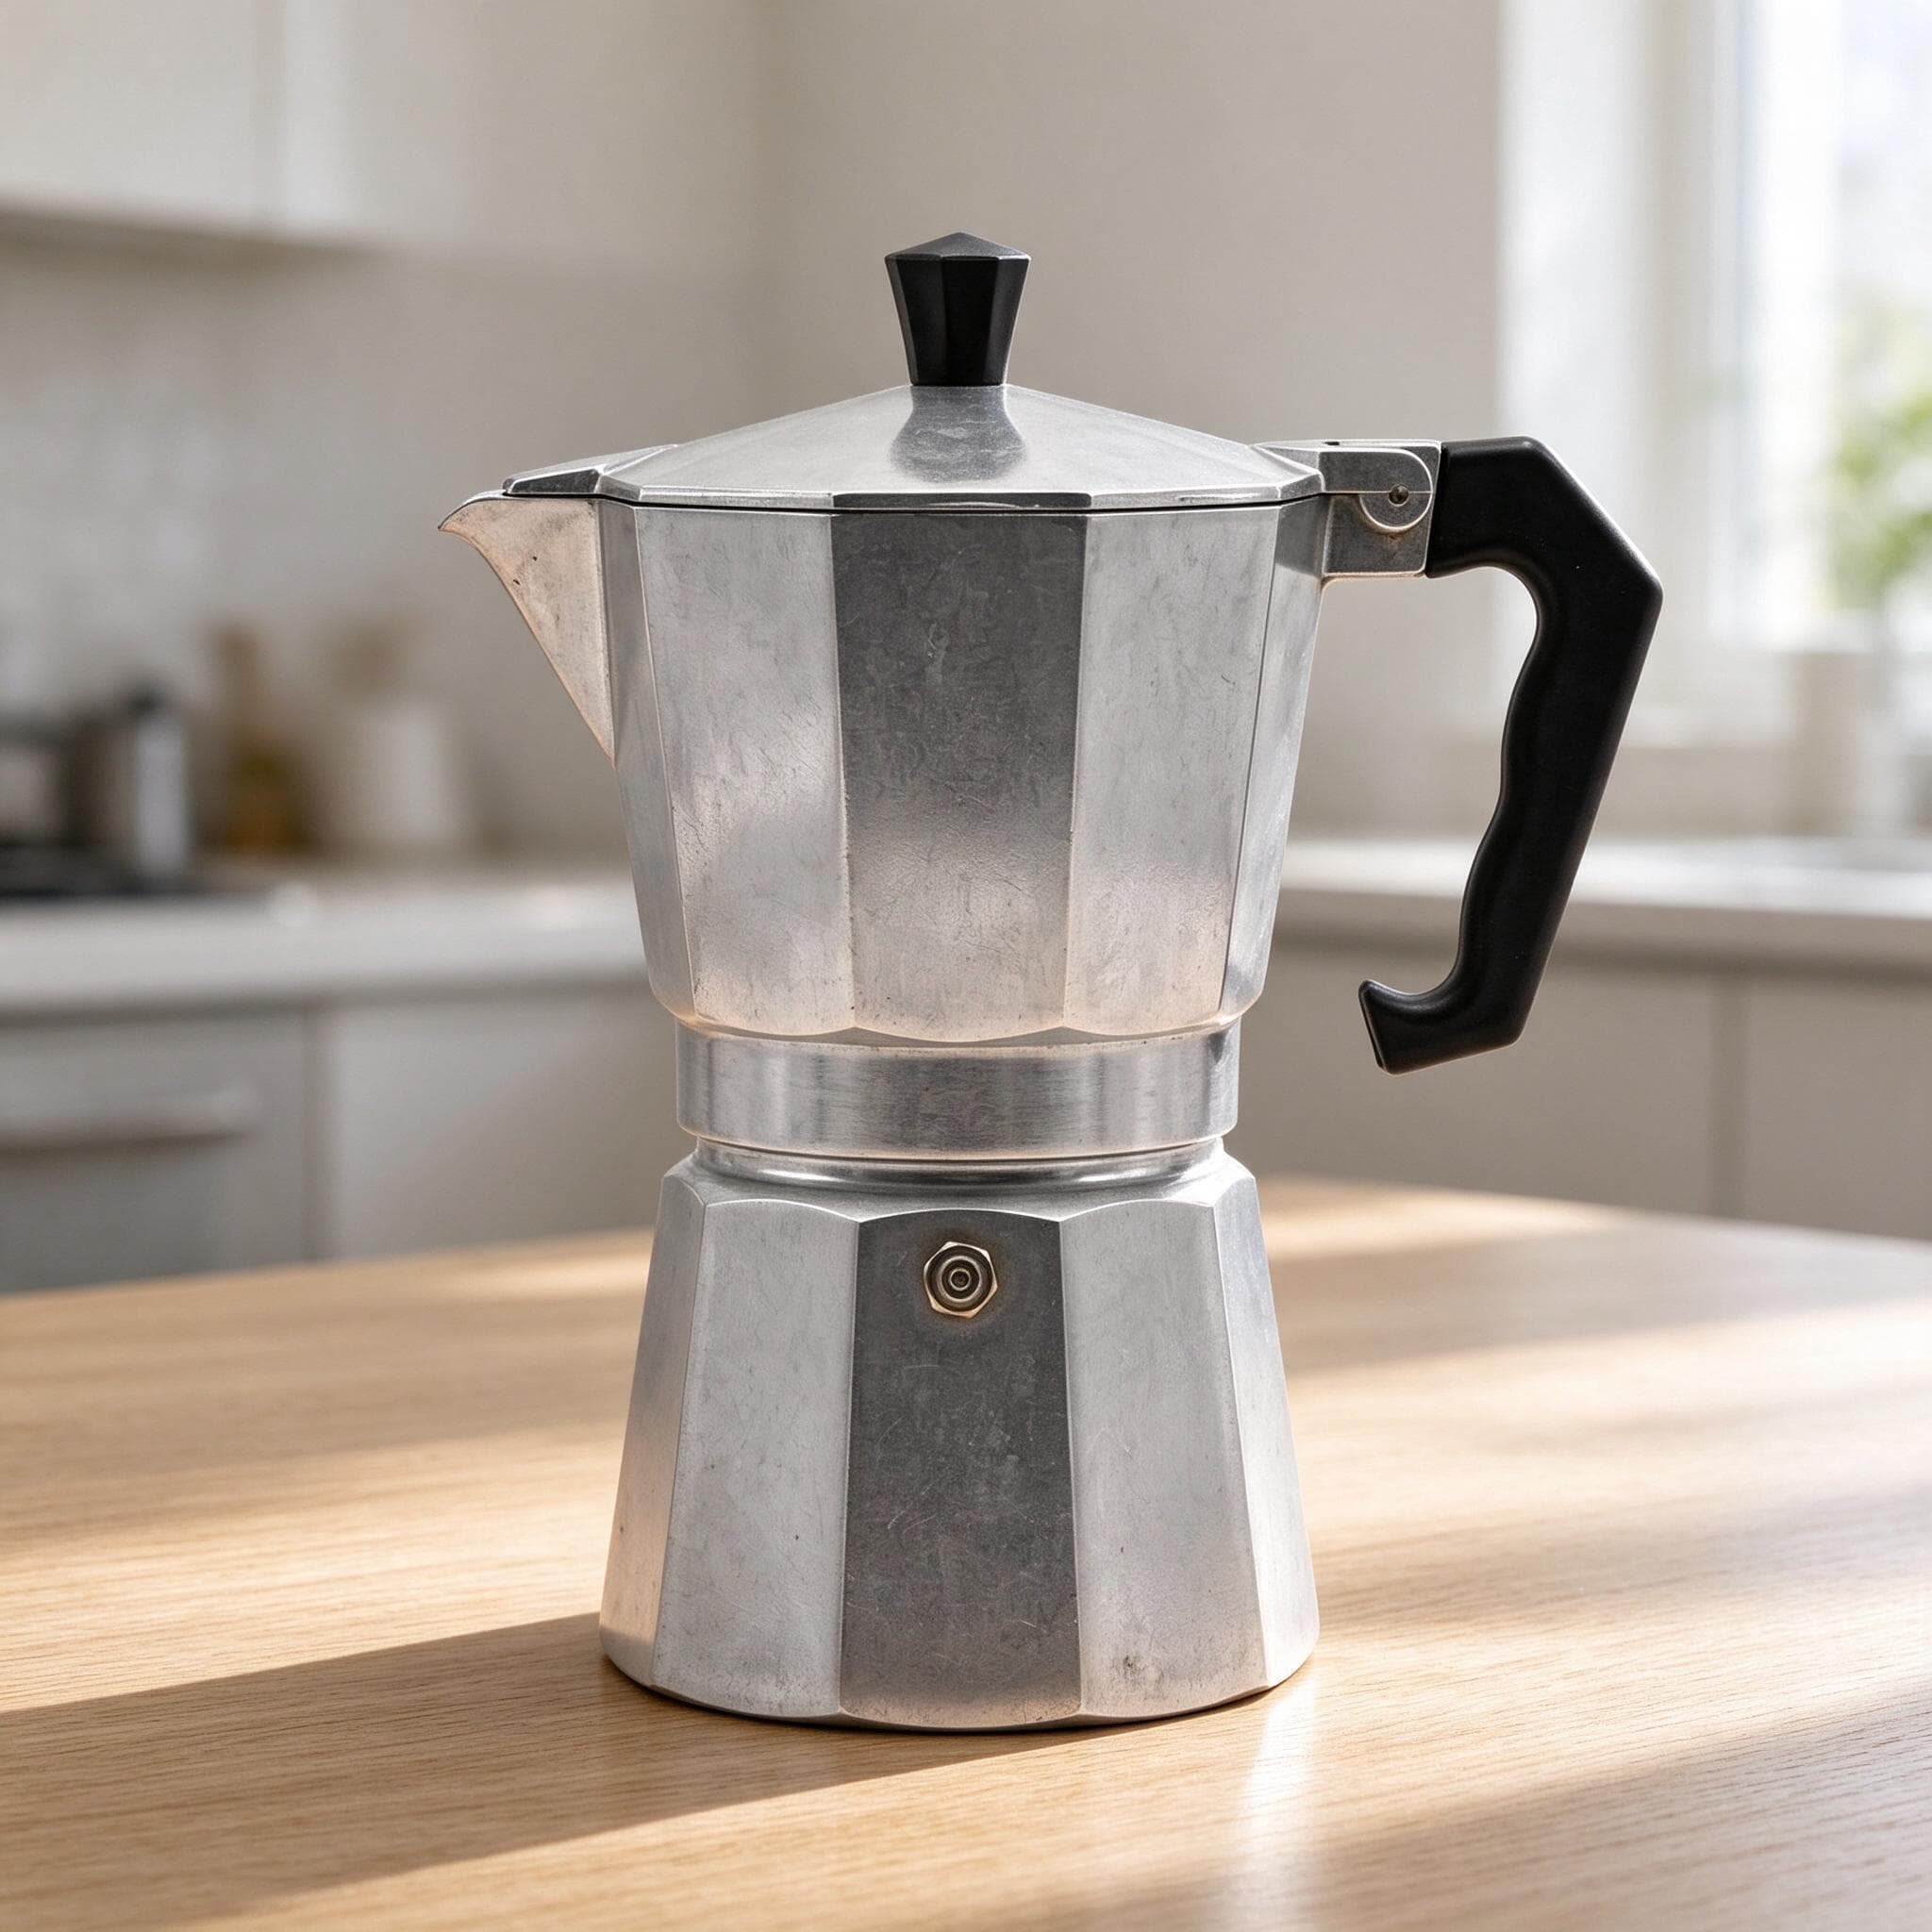
- Shiny and metallic products reflect everything around them, you included. Shoot from slightly to the side, move anything colourful out of the room, and use white card on both sides so the reflections are clean and white.
- Glass and clear bottles look best with the light behind or beside them, so it shines through. A sheet of white card behind the product, lit by the window, makes the glass glow.
- Dark products hide their shape in shadow. Use more fill from the white card, and brighten the photo slightly until you can see the edges and texture.
- Clothing should be steamed or ironed first. Lay it flat and shoot from directly above, or hang it on a plain hanger against a wall.
- Very small items, such as rings or earrings, need the phone close. If your phone has a macro mode, use it, and lock focus on the detail that matters most.
Common mistakes to avoid
- Mixed light: daylight from the window and a warm lamp at the same time.
- Using the flash, which flattens the product and causes glare on shiny surfaces.
- Cropping too tightly, so the product gets cut off when a platform crops the image.
- A dusty or smudged product. Phone cameras are sharp enough to show every fingerprint.
- A different background for every product, which makes the whole shop look inconsistent.
Skip the setup
Once you've found a good spot by a window, product photos become a five-minute routine. And if you'd rather skip backdrops and editing altogether, upload your phone shot to StudioShot Pro and get a studio-quality image in seconds. Your first 3 images are free, without a watermark.